.

Install SQL Server Integration Services in Visual Studio 2019
By: Sergey Gigoyan
Problem
SQL Server Integration Services is Microsoft’s powerful platform for implementing Extract, Transform and Load (ETL) solutions. It allows SQL Server Professionals to solve complex business intelligence tasks and work with a wide range of data sources. Microsoft provides a graphical tool for designing and developing Integration Services projects. This tool has always been an integral part of the Visual Studio. However, the name of this tool as well as the method of its installation varies from version to version of Visual Studio (VS). In this article, we are going to illustrate how to install the SQL Server Integration Services development tool for the latest version of Visual Studio.
Solution
As mentioned above, Microsoft’s tool for developing Integration Services projects is named differently in different versions of the Visual Studio. For example, for the SQL Server 2008/2008R2 integration services, this tool was VS 2008’s Business Intelligence Development Studio (BIDS) and came with the SQL Server installation media. In VS 2010, the tool was renamed as the SQL Server Data Tools (SSDT) and shipped as a part of the SQL Server 2012 installation media. In VS 2012/2013, this tool was slightly renamed as SSDT-BI and needed a separate download. In VS 2015, it was called SSDT and needed a separate download. In VS 2017, this tool could be installed during the VS installation. It is worth mentioning that BIDS, SSDT-BI, and SSDT can be used not only for working with SSIS projects, but also SQL Server Analytical Services and SQL Server Reporting Services projects. Additionally, it is important to note that SSDT is backward compatible, which means that projects designed on the newer versions of SSDT can run on older versions of SQL Server.
Now, after that historical review, let’s move to the latest release of Visual Studio – VS 2019 and see what this version provides as an SSIS development tool. For this version of the VS, there is no standalone installer for SSDT. While in this version the core components of SSDT for creating database projects have remained integrated in Visual Studio, the Integration Services, Analysis Services, and Reporting Services projects have become just an extension of the VS. Thus, in order to install the tool for SSIS development, we first need to install VS 2019. Therefore, we will divide our article into two parts. In the first part we will describe the installation of VS 2019 and in the second part, will illustrate the SSIS’s extension installation.
Installing Visual Studio 2019
To download Visual Studio 2019 we will use the following link.
For our example, we will download the free, Community edition of this product:
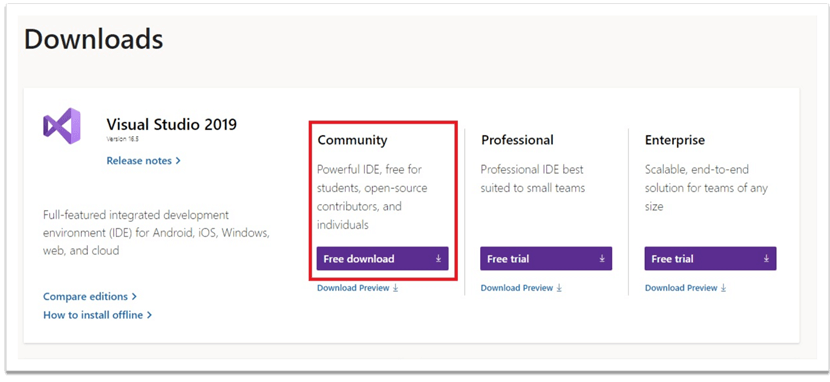
Then, we will click on "Free download". After downloading the .exe file, we will double click on it to start the process:

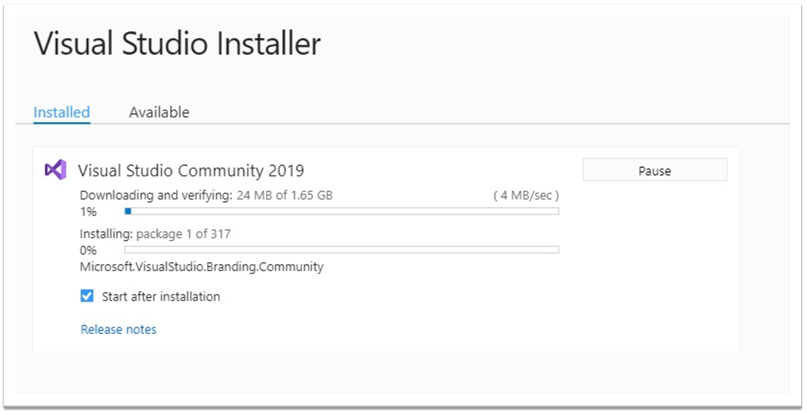
The Visual Studio installer starts and after some time the following window is opened:
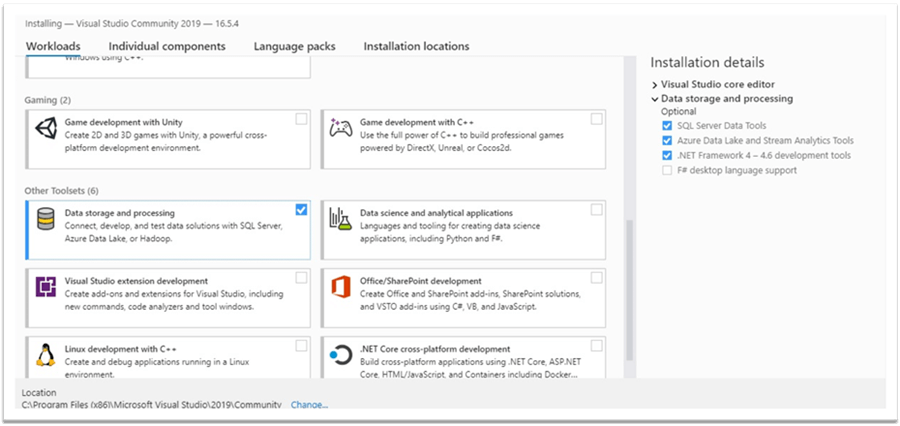
To add SSDT, we scroll down and choose "Data storage and processing". Then, we press the "Install" button and wait for the installation to complete:
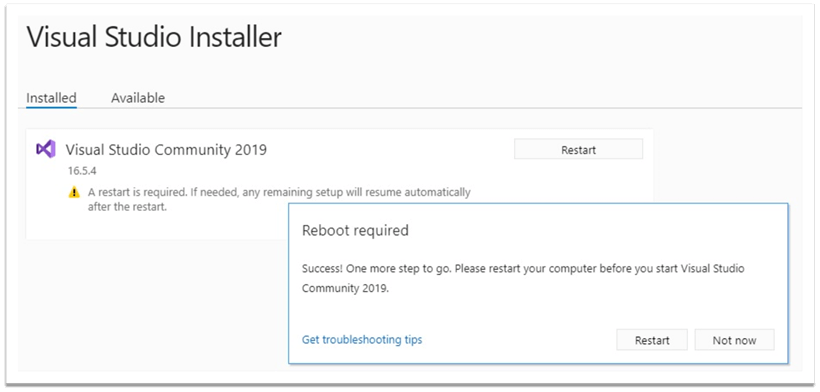
After installation, restart is required, so we press "Restart":
After having our computer rebooted, we start Visual Studio:

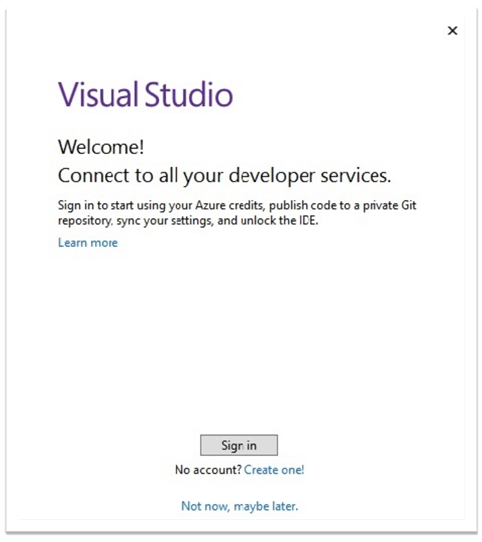
On the next screen, just to keep our example simple, we just click "Not now, maybe later." instead of signing in:
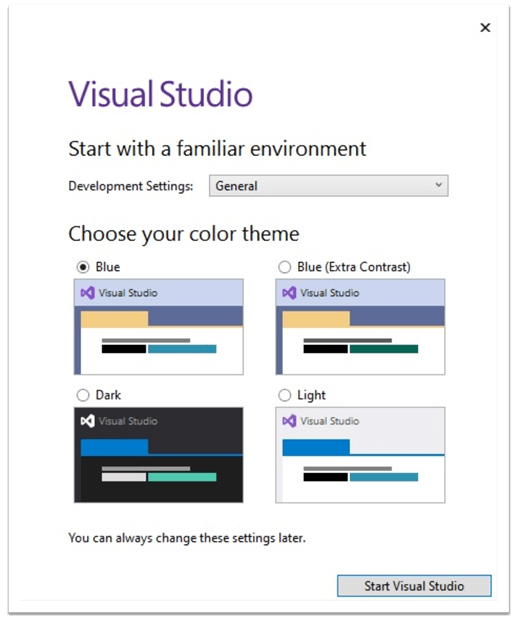
After that, we choose the theme and click on "Start Visual Studio":
Well, we have installed Microsoft Visual Studio 2019 on our computer. Now, it’s time to add the extension for developing Integration Services projects.
Adding the SSIS Projects extension to the Visual Studio 2019
When Visual Studio is opened, we click on "Continue without code" to add the necessary extension:

In this window, we click on "Extensions" > "Manage Extensions":

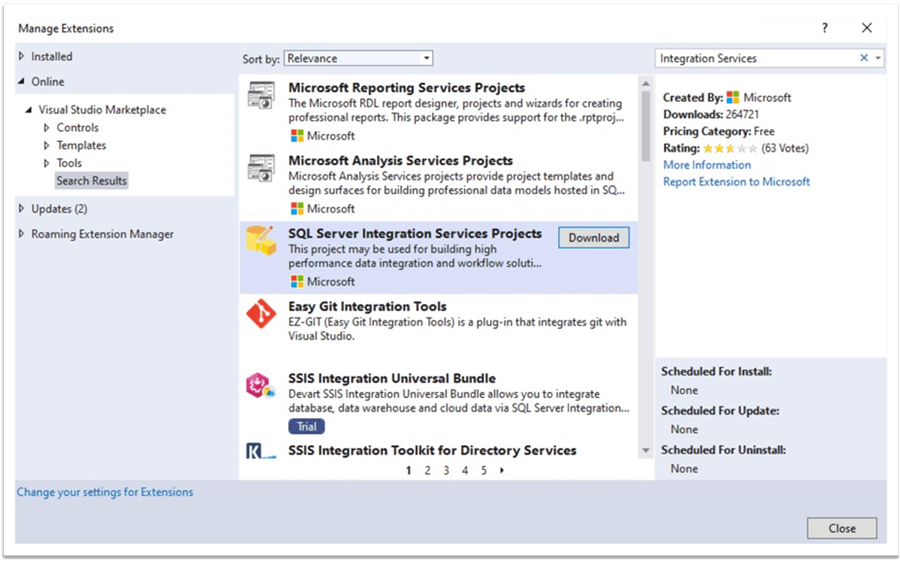
In the search bar of the opened window, we type "Integration Services" to easily locate the extension. From the appeared list we choose "SQL Server Integration Services Projects" and press "Download":
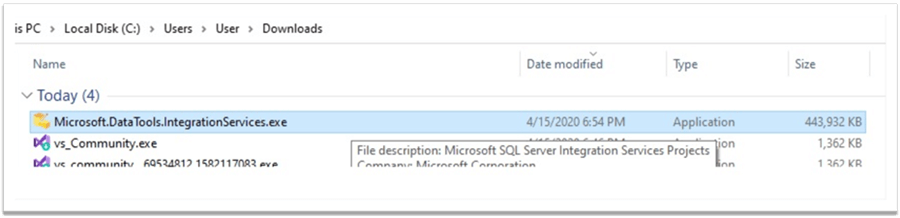
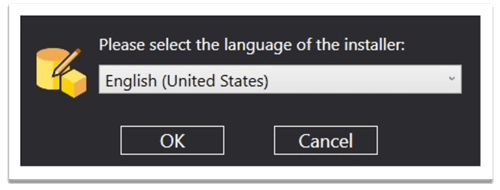
Then, we will execute the downloaded .exe file:
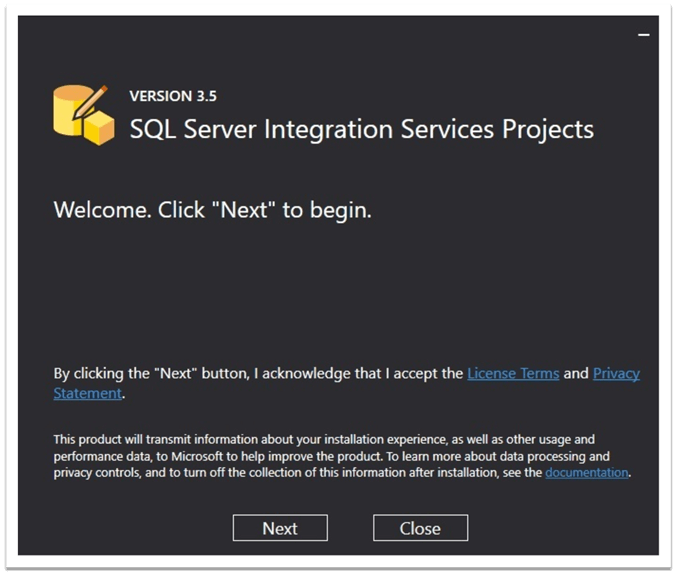
The installation of the extension begins. Now, we will follow some simple steps. In the next window we click "OK":
After that, we click "Next" to continue:
If you receive the following message, you probably have SQL Server Management Studio opened:
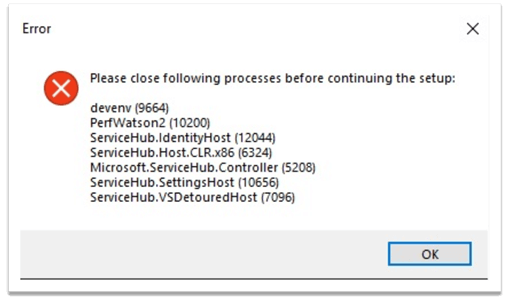
Close it and click "OK". The process should continue:
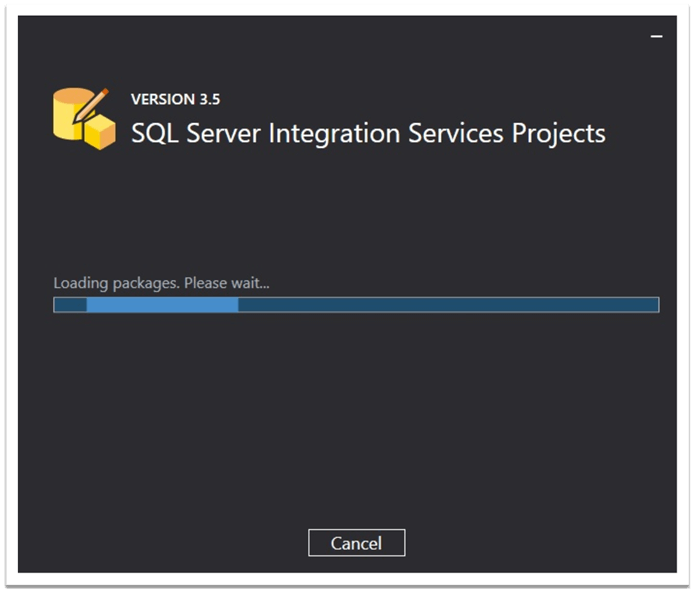
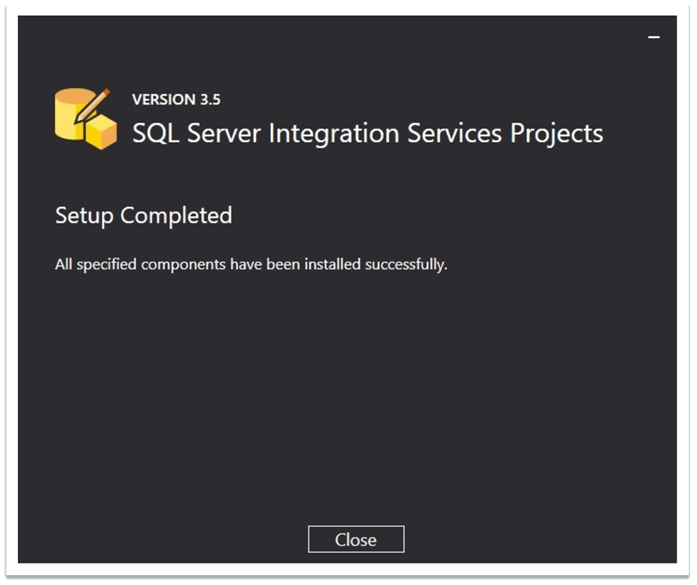
Finally, the setup is completed and we have our extension installed:
Now, we are ready to create Integration Services projects. In Visual Studio, we choose "Create a new project":

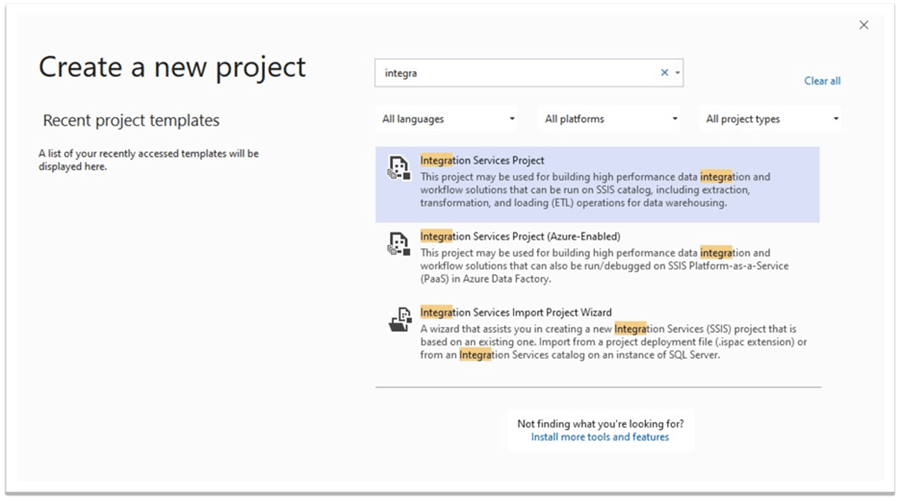
In the next window, we type "integration" to find "Integration Services Project" and click on it:
We choose a name for our project:

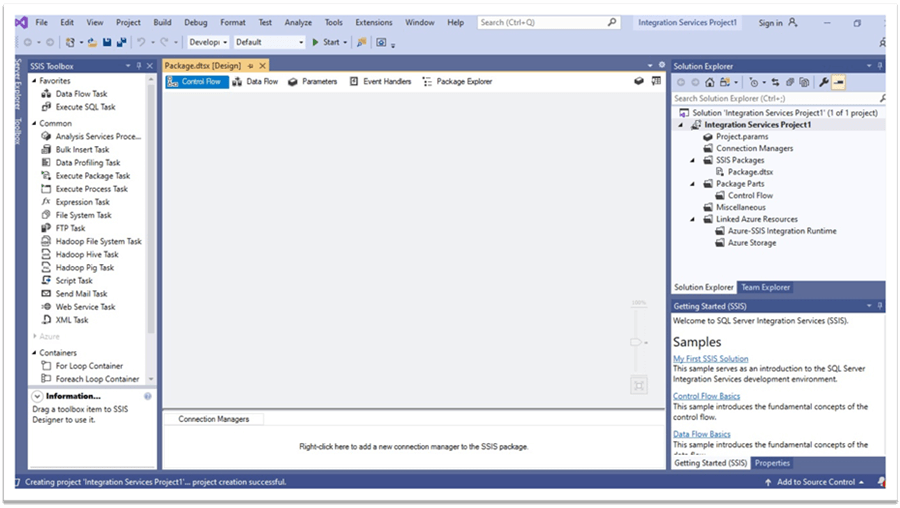
Hence, it is ready! We opened the interface where we can design and develop SSIS 2019 packages:
Conclusion
To sum up, we reviewed the updates related to the tool for SQL Server Integration Services projects development in the VS 2019. As we have seen, in this version of the VS, the tool for designing SSIS projects is installed as an extension of the Visual Studio. We have also explored how to install Visual Studio 2019 and how to add the Integration Services Projects extension to it.
.
SOURCE:
.
No comments:
Post a Comment