
-----
Install Joomla 3.1 On USBWebServer
STEPS
1) Download and setup UsbWebserver Folder group.
1.1) Download UsbWebserver from www.usbwebserver.net
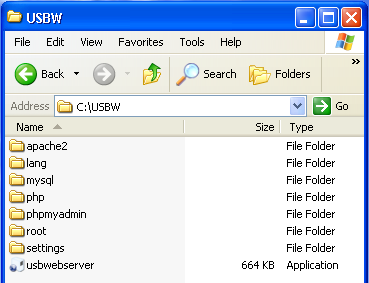
1.2) Extract the contents to C:\USBW
2) Download and setup Joomla31 Folder group.
2.1) Download Joomla30 (e.g. Joomla_3-1-0-Stable-Full_Package.zip) from www.joomla.org .
2.2) Extract the contents to C:\USBW\root\joomla31

3) Setup MySQL Database Joomla31.
3.1) Find usbwebserver.exe program in C:\USBW\ folder. Run usbwebserver.exe program.

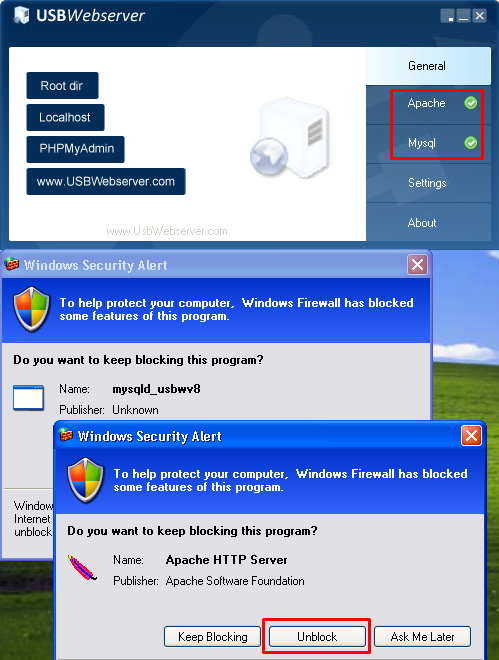
3.2) Check that Apache and MySQL server indicator light is in green color.
Unblock the programs if the Windows Firewall asks your permission.
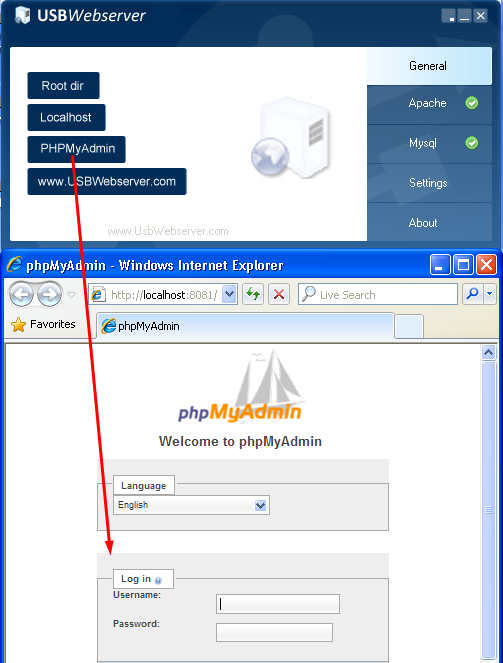
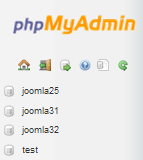
3.3) Click PHPMyAdmin button and enter Login details (default: root/usbw).
3.4) Click Databases tab. Type “joomla31”. Click Create button.
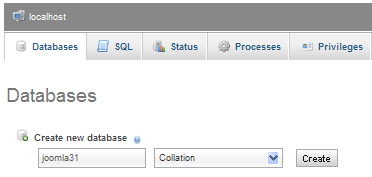
3.5) All databases that you created will appear in the Left Panel.
4) Install Joomla.
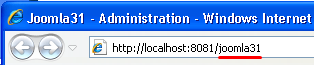
4.1) In USBW Control Panel, click Localhost button.
4.2) Add joomla31 at the end of the URL address.
4.3) Main Configuration.

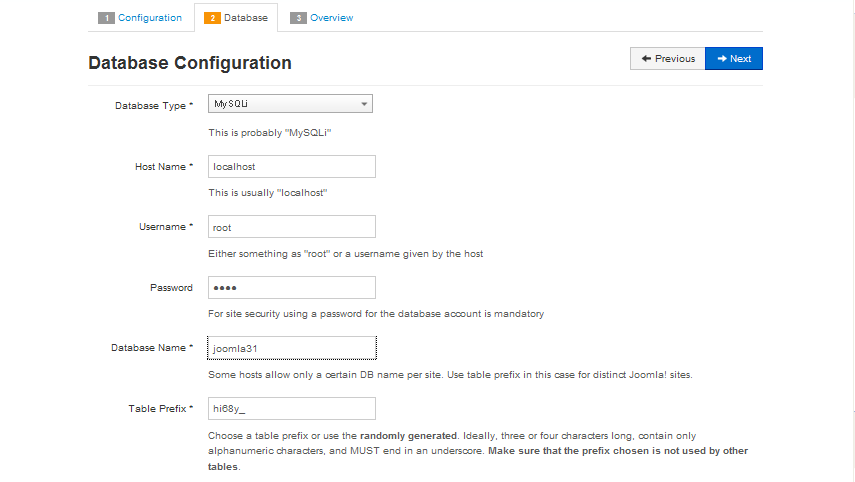
4.4) Database Configuration.
Username= root
Password= usbw
Database Name= joomla31
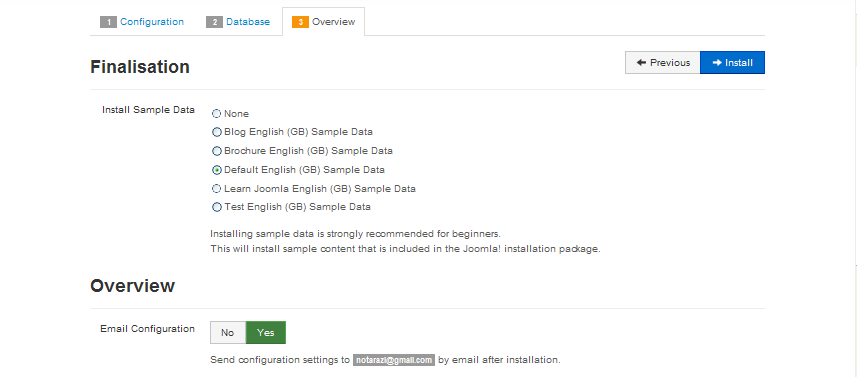
4.4) Finalisation.
It is recommended that you:
a) Install Sample Data: Default.
b) Email Configuration.
Click Install.
4.5) Installation Done.
Click Remove Installation folder.

5) Test Installation.
5.1) Find the Site and Administration button (below the Remove Installation button).
5.2) Right-click the Site button and choose to open the page in new tab.

5.3) Right-click the Administrator button and choose to open the page in new tab.

No comments:
Post a Comment