Learn the powerful enterprise adaptable database:

Getting Started With ADABAS & Natural

Saturday, April 2, 2022

How To: Fix Eclipse Error "Tomcat Server Failed to Start"


This could be caused by a number of reasons.

The easiest attempt is to delete the Tomcat server (and remove its runtime from Eclipse settings).


Add back the server. Make sure that the Eclipse has got the right Tomcat server version in its list.

Choose the Tomcat server version in the list and let Eclipse download the version by itself.


If the problem persists, refer the following pages for a list of suggestions:

1) https://codebun.com/server-tomcat-v8-5-server-at-localhost-failed-to-start/

2) https://dzone.com/articles/tomcat-server-failed-to-start-from-eclipse


How To: Fix Eclipse Error "Java was started but returned exit code=14"?


.

When Eclipse runs for the first time, it may throw the following error message: 

"Java was started but returned exit code=14"

In one of the succeeding lines, it says:

"-Dosgi.requiredJavaVersion=11"


One of the possible causes is the different JRE or JDK (on the host platform) which does not meet the requirement of the Eclipse application. In this case, it requires version 11.


Solution: 

1) Exit Eclipse. Download Java JDK version 11, install and re-run Eclipse. 

2) Change Eclipse settings (Window -> Preferences -> Java -> Installed JRE's tab).


Note:

1) You may need to remove other JRE versions if they exist in Eclipse settings.

2) You may also encounter a warning message as follows:


3) Click on Compiler page link to reconfigure the compiler compliance level.


Friday, April 1, 2022

How to fix -Djava.endorsed.dirs not supported, that emerged after installing WTP in Eclipse?

 .

To fix this bug, you need to install/update the Eclipse Web Tools Platform (WTP) to version 3.9.4 or later.


Select "Help > Install new Software..."

Select or add following URL: http://download.eclipse.org/webtools/repository/oxygen

Check Web Tools Platform (WTP) 3.9.4

Select "Next" and follow instructions

(Bug was reported to Eclipse here: https://bugs.eclipse.org/bugs/show_bug.cgi?id=533162)


.

How to Fix “Could Not Create the Java Virtual Machine” Error

 .

Right-click the executable file.

Go to compatibility tab.

Tick "run as administrator".


How To: Install Eclipse 2022


0) Pre-installation

It is recommended that you install Java SDK first. 

https://www.oracle.com/java/technologies/downloads/ 

Even though Eclipse may run with built-in JRE, some tools such as Java EE requires Java SDK. So, better get the Java SDK ready.


1) Search for Eclipse 2022 download link.


2) Download Eclipse IDE 2022-03.


3) Run installer.


4) Select IDE type.


5) Click Install.


6) Portable Version

Alternatively, you may want to try the portable version,

https://portableapps.com/node/55342


7) Optional: Install Web Tool Platform (WTP)

Go to menu Help/Install New Software

In the link input field, enter http://download.eclipse.org/webtools/updates .


source: https://devstory.net/10281/installer-web-tools-platform-pour-eclipse


Thursday, September 16, 2021

How To Set Google Universal Analytics (UA)


 .


Set up Analytics for a website (Universal Analytics)

This article is for anyone who wants to set up Analytics (using a Universal Analytics property) on a new website.  Universal Analytics is the earlier version of Analytics and only supports web measurement. If you need a "UA- " Tracking ID, follow the instructions in this article.

Create an Analytics account

Your first step is to set up an Analytics account, unless you already have one. Skip to creating a property unless you want to create a separate account for this website. For example, you might want to create another account if this website belongs to a separate business.

  1. In Admin, in the Account column, click Create Account.
  2. Provide an account name. Configure the data-sharing settings to control which data you share with Google.
  3. Click Next to add the first property to the account.

 Create a property

  1. Are you continuing from "Create an Analytics account", above? If so, skip to step 2.  Otherwise,
    • In Admin, look at the Account column to make sure that you've selected the right account. Then, in the Property column, click Create Property.
  2. Enter a name for the property (e.g. "My Business, Inc website") and select the reporting time zone and currency. If a visitor comes to your website on a Tuesday in their time zone, but it's Monday in your time zone, the visit is recorded as having occurred on Monday.
    • If you choose a time zone that honors Daylight Savings Time, Analytics automatically adjusts for time changes. Use Greenwich Mean Time if you don't want to adjust for Daylight Savings Time.
    • Changing the time zone only affects data going forward. If you change the time zone for an existing property, you may see a flat spot or a spike in your data, caused by the time shift forwards or backwards, respectively. Report data may refer to the old time zone for a short period after you update your settings, until Analytics servers have processed the change.
  3. Click Show advanced options (below the property-setup fields).
  4. Turn on the switch for Create a Universal Analytics property. 
  5. Enter the website URL. Select the protocol (http or https).
    Most domain hosts support only UTF-8 characters in URLs. Use either UTF-8 characters or punycode for symbols and any non-UTF-8 characters (including Cyrillic characters) in your domain name. Try a punycode converter for help with this.
  6. At this point, choose to create
    • Both a Google Analytics 4 property and a Universal Analytics property. This option
      • Sets up a parallel Google Analytics 4 property that collects data alongside your Universal Analytics property. Once you add the tag for the Google Analytics 4 property to your site, data will be sent to both properties.  You can switch back and forth between properties using the property selector or Admin screen.
      • Establishes a connection between the two properties that allows you to migrate configuration settings from your Universal Analytics property to your Google Analytics 4 property later on.
        How to identify each property: If you named your property "Example" in step 2, your Universal Analytics property will be named "Example (UA-1234567)" and your Google Analytics 4 property will be named "Example - GA4 (98765432)".
    • Only a Universal Analytics property. Choose this option if you only want a Universal Analytics property.
      If you need a "UA-" tracking ID, choose this option.
  7. Click Next and provide information about your business. 
  8. Click Create.

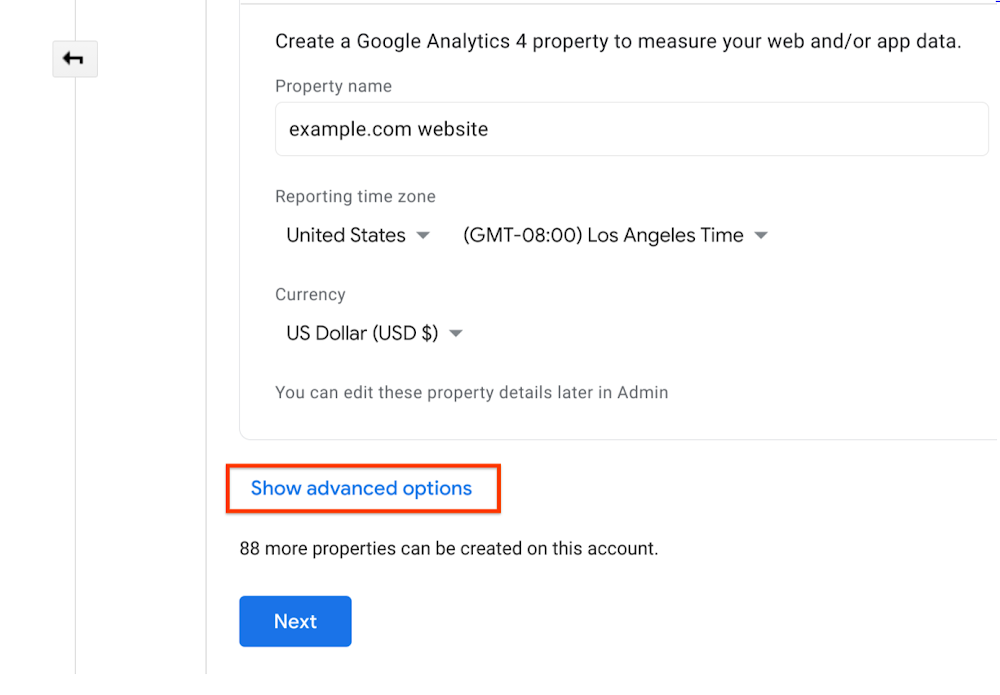
Accept the Analytics Terms of Service and the Data Processing Amendment if prompted, and click Finish.


.


https://support.google.com/analytics/answer/10269537