.
This post will guide you a step-by-step installation of
Community ENTerprise Operating System 6.3 (CentOS) with screenshots. Less than three weeks after the release of
Red Hat Enterprise Linux (RHEL) 6.3. The
CentOS Project has released its clone of
RHEL 6.3distribution on
09 July 2012.
CentOS 6.3 Features
CentOS Linux Distribution contains some new exciting features like.
- OpenOffice 3.2 has been replaced by LibreOffice 3.4, if you update from previous version of CentOS 6 using ‘yum update’ and have openoffice installed, the update will automatically remove openoffice and install libreoffice.
- Many drivers have been updated and improved in virtulisation.
- Upstream has deprecated the Matahari API for operating system management has been deprecated, and there’s new tools for moving physical and virtual machines into Virtual KVM machine instances. These new tools from Red Hat are virt-p2v and virt-v2v for physical-to-virtual and virtual-to-virtual migration, respectively.
Download CentOS 6.3 DVD ISO
- Download CentOS 6.3 32-bit DVD ISO – (3.6 GB)
- Download CentOS 6.3 64-bit DVD ISO – (4.0 GB)
- Download both 32-bit and 64-bit DVD ISO.
CentOS 6.3 Step by Step Graphical Installation Guide
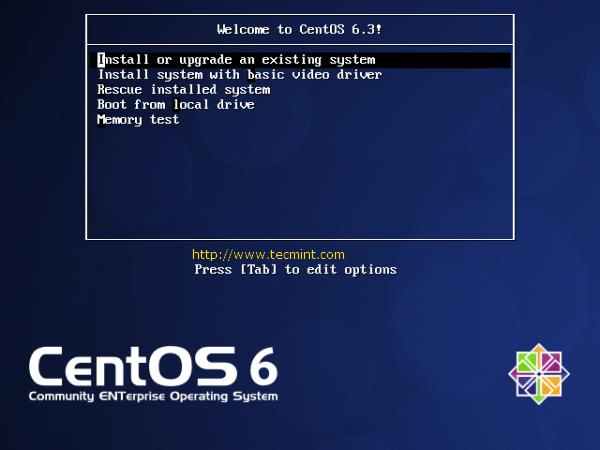
Boot Computer with CentOS 6.3 OS Installation CD/DVD.
1. Select Install or Upgrade existing system options.

Select Install or Upgrade
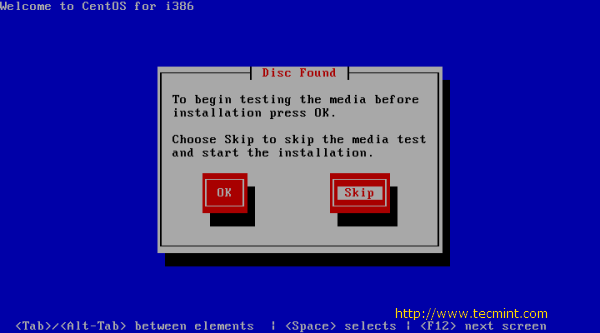
2. Choose skip media test as it may take long time to check media.

Skip CentOS 6.3 Media Test
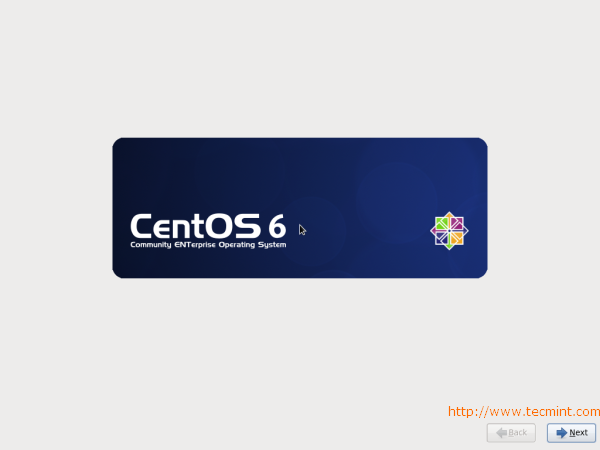
3. CentOS 6.3 Welcome Screen press Next.

CentOS 6.3 Welcome Screen
4. Language Selection.

CentOS 6.3 Language Selection
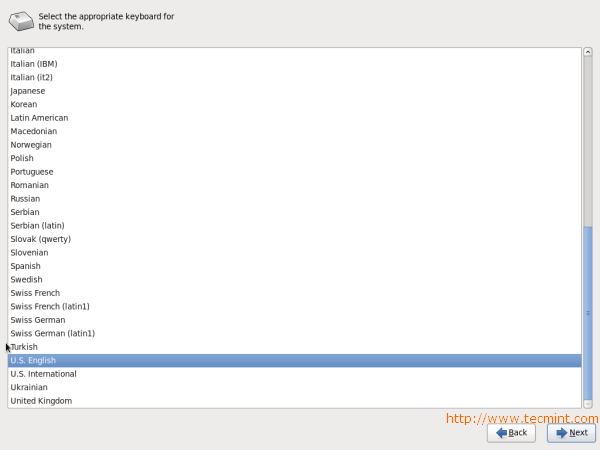
5. Select appropriate Keyboard.

CentOS 6.3 Keyboard Selection
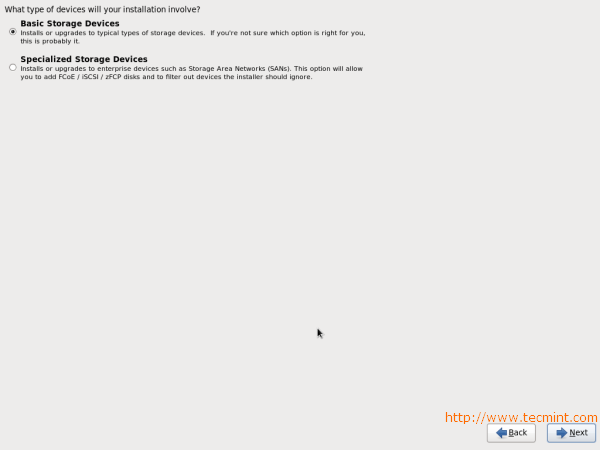
6. Select Basic Storage Device if your hard drive is attached locally.

CentOS 6.3 Storage Device Selection
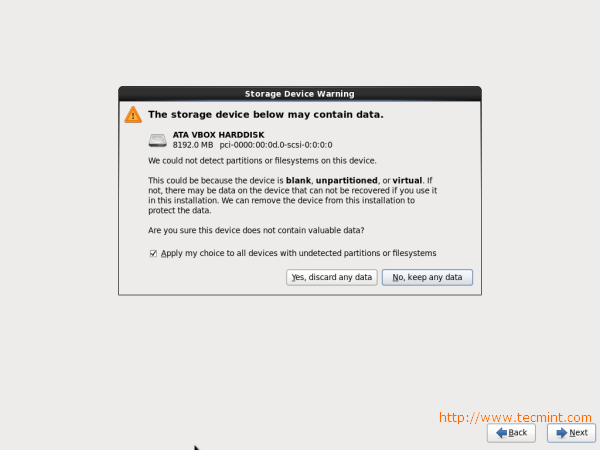
7. You may get Storage Device warning, you can click Yes, discard any data button toContinue.

CentOS 6.3 Storage Device Warning
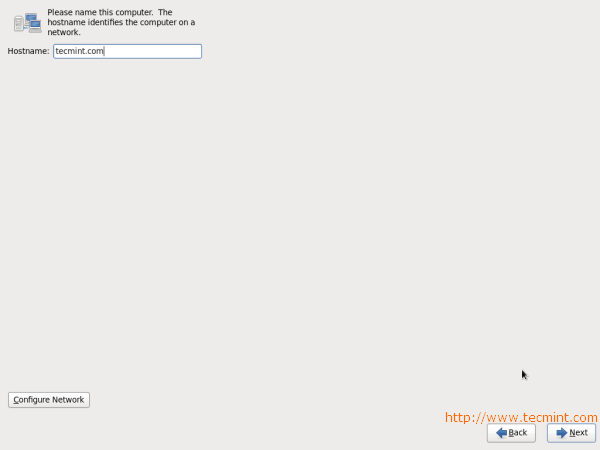
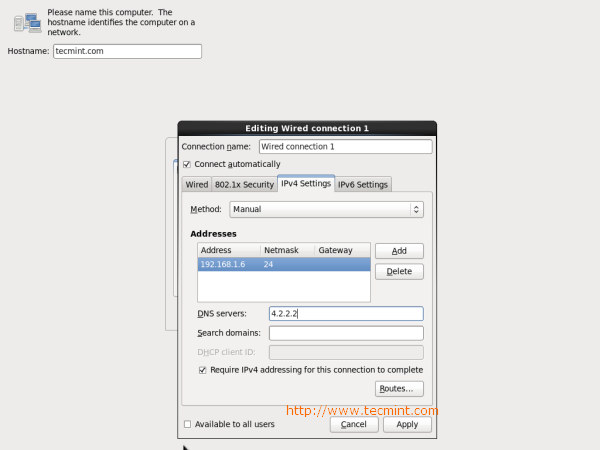
8. Give a Hostname to the server and click on Configure Network button if you want to configure network while installation.

CentOS 6.3 Hostname and Network Setup
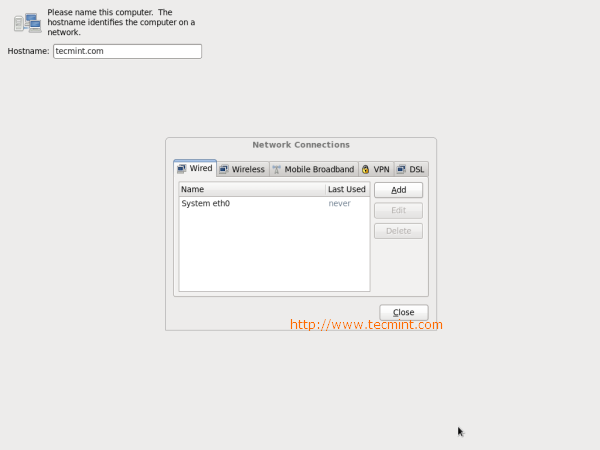
9. Click Wired tab and click on Add button.

CentOS 6.3 Network Setup
10. Select Connect Automatically, go to ipv4 settings tab and select Method and selectManual in drop down. Click on Add tab to fill address box with IP Address, Netmask,Gateway and DNS Server. Here I’m using IP Address 192.168.1.6 and DNS Server is 4.2.2.2 for demo. This IP Address may vary in your environment.

CentOS 6.3 Network Configuration
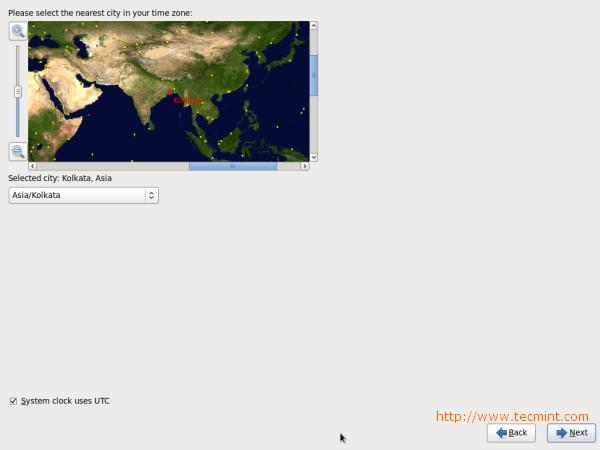
11. Select Time Zone.

CentOS 6.3 Set Timezone
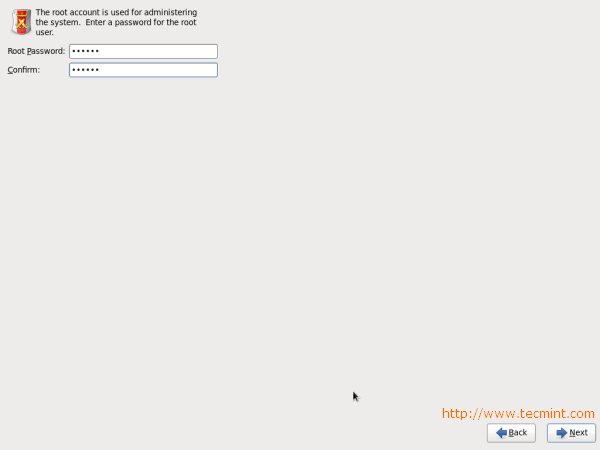
12. Give a root password.

CentOS 6.3 root Password
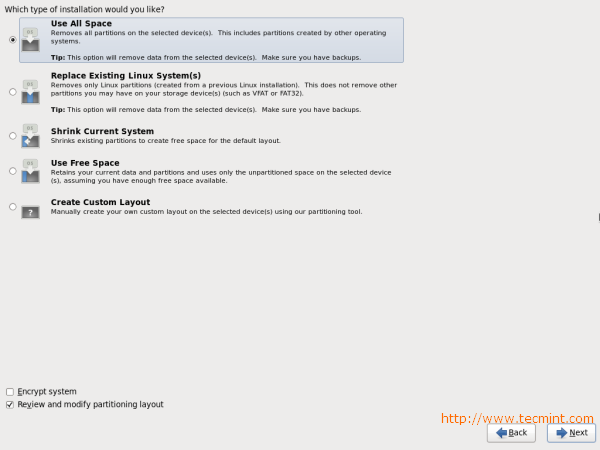
13. Select appropriate partitioning as per your requirement.

CentOS 6.3 Partition Selection
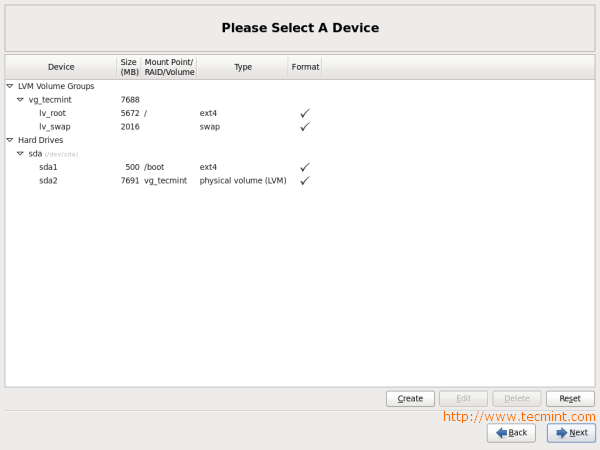
14. Verify filesystem. Here, you can edit filesystem If you want.

CentOS 6.3 Partition Verify
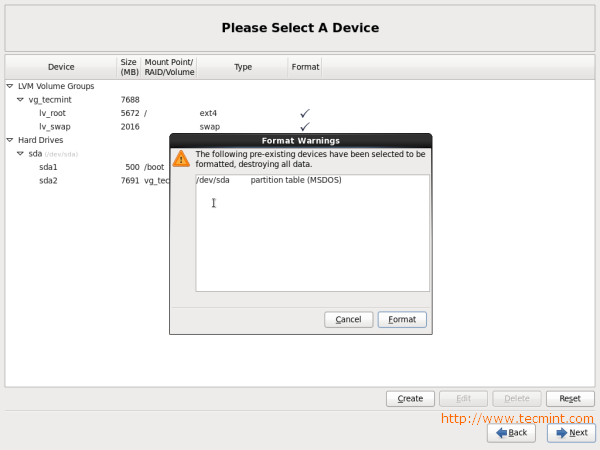
15. Disk Format Warning, click on Format.

CentOS 6.3 Disk Format
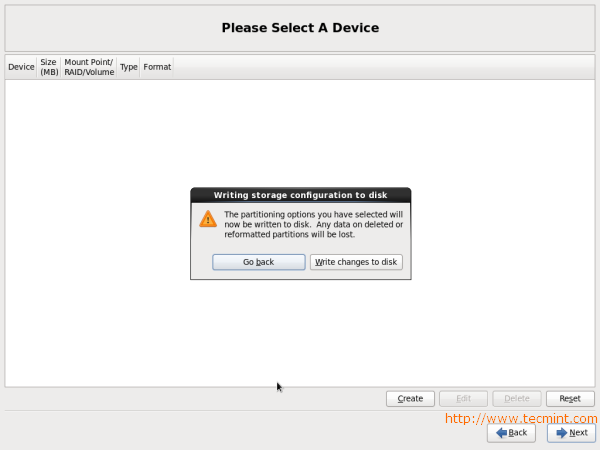
16. Select Write Changes to disk.

CentOS 6.3 Disk Changes
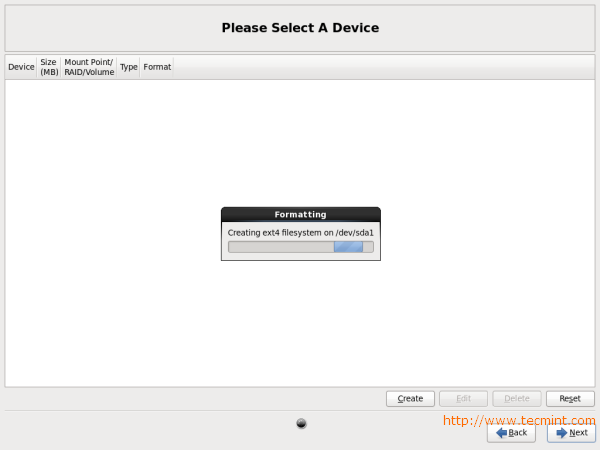
17. Hard Drive is Formatting.

CentOS 6.3 Disk Formatting
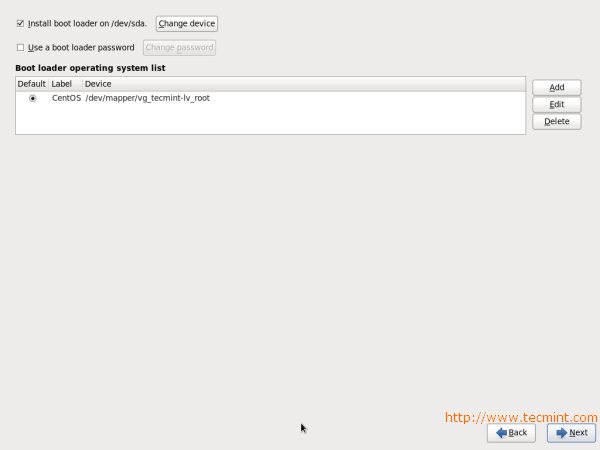
18. Here, you can give Boot loader Password for better security.

CentOS 6.3 Boot Loader Password
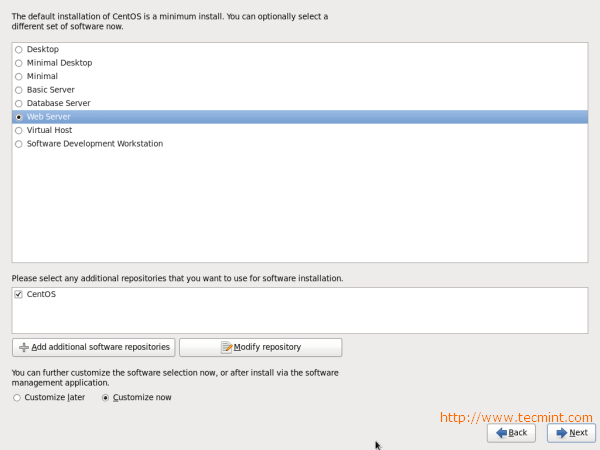
19. Select the applications you want to install, you can choose Customize now and click Next.

CentOS 6.3 Package Selection
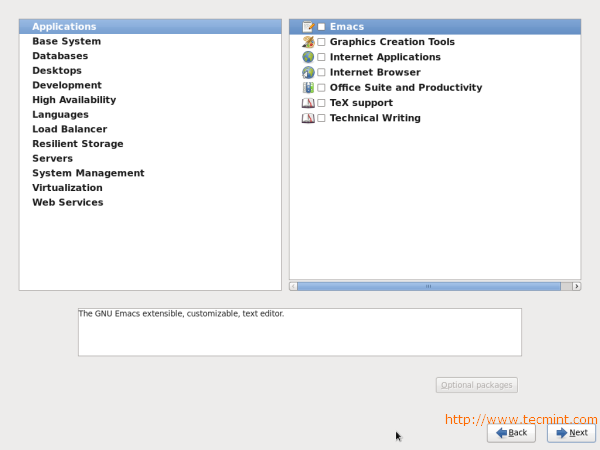
20. Select the applications you want to install and click Next.

CentOS 6.3 Packages Selection
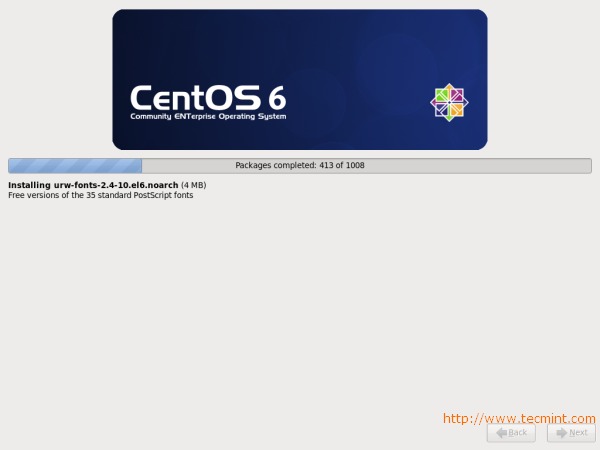
21. Installation started, this may take several minutes as per selection of packages.

CentOS 6.3 Installation
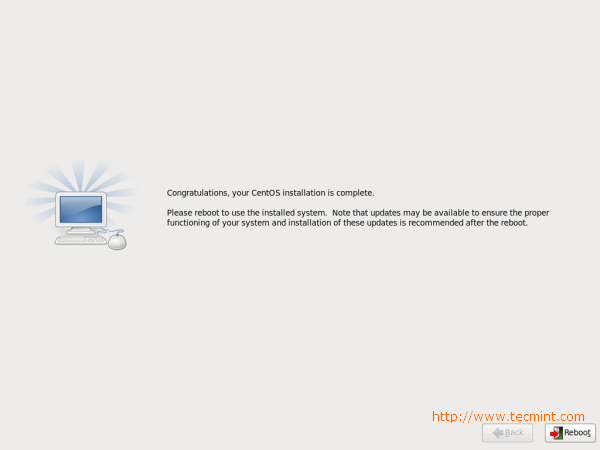
22. Installation completed, Please remove CD/DVD and reboot system.

CentOS 6.3 Installation Completes
23. Welcome to CentOS 6.3 Login Screen.

CentOS 6.3 Login Screen
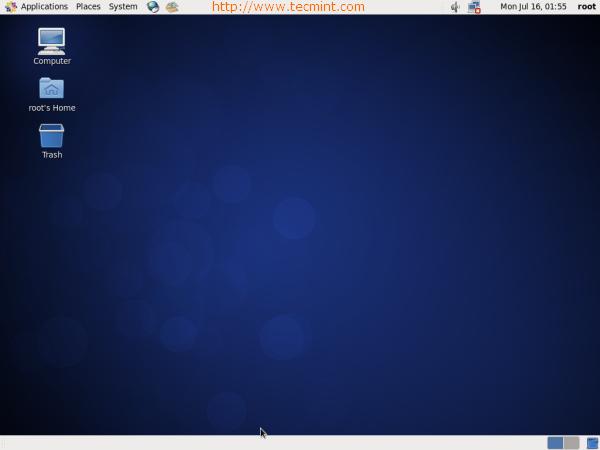
24. CentOS 6.3 Desktop Screen.

CentOS 6.3 Desktop Screen
Liked the article? Sharing is the best way to say thank you!